|
| This was originally posted on So You Think You're Crafty last week, bringing it home in case you missed it. |
Button Banner Advent Calendar Tutorial
We enjoy celebrating Advent with all 3 of our children. We have done all different types of Advent calendars which are countdown calendars where you count down the days until Christmas:
pocket banner,
paper cake,
PLAYMOBIL in jars, but for this one I thought it would be nice to have one that isn't filled with a sugary treat, toy, etc. Today I'm going to show you how to make the Button Banner Advent Calendar which is quite simple to make, it is a banner that can be hung on the wall, and has 24 buttons that represent the first 24 days of December. The 2 felt poinsettia flowers button easily onto a button on the banner, so easy that a child can do it by themselves. The button becomes the center of the flower. The poinsettia flower is buttoned on the 1st button on December 1st. The poinsettia will make it's way down the banner until it is buttoned on the last button on December 24th. This is a very visual way for a child to see how much longer it is until Christmas.
Supplies needed:
:: 1 yard silver ironing board cover fabric (yes, you can buy this at the local fabric store by the yard)
:: white wool felt
:: scrap of white linen fabric
:: black fabric marker
:: button kit tools, Dritz #14 (it's a fabric button maker you can buy at the local fabric store)
:: 24 aluminum cover buttons, size 3/4"
:: silver glitter eyelash yarn
:: 2 ft wooden dowel
:: paint (optional if you want to paint the wooden dowel)
Step-by-step instructions:
Take the one yard of silver ironing board cover fabric, cut it in half lengthwise, pin right sides together. Sew 1/2" seams around 3 sides.
Cut the 2 bottom corners, turn right side out, press with iron. At the top of the banner (where there is the opening), fold over 1" & press with iron.
Then fold over 3" & press with iron.
Topstitch at the 3 inches, you’ve just created a casing so that you can hang the banner on the wall.
Now it's time to make the 24 fabric buttons. Using the button pattern and a disappearing ink marker, trace the button pattern 24 times.
Now cut out the 24 circles of fabric.
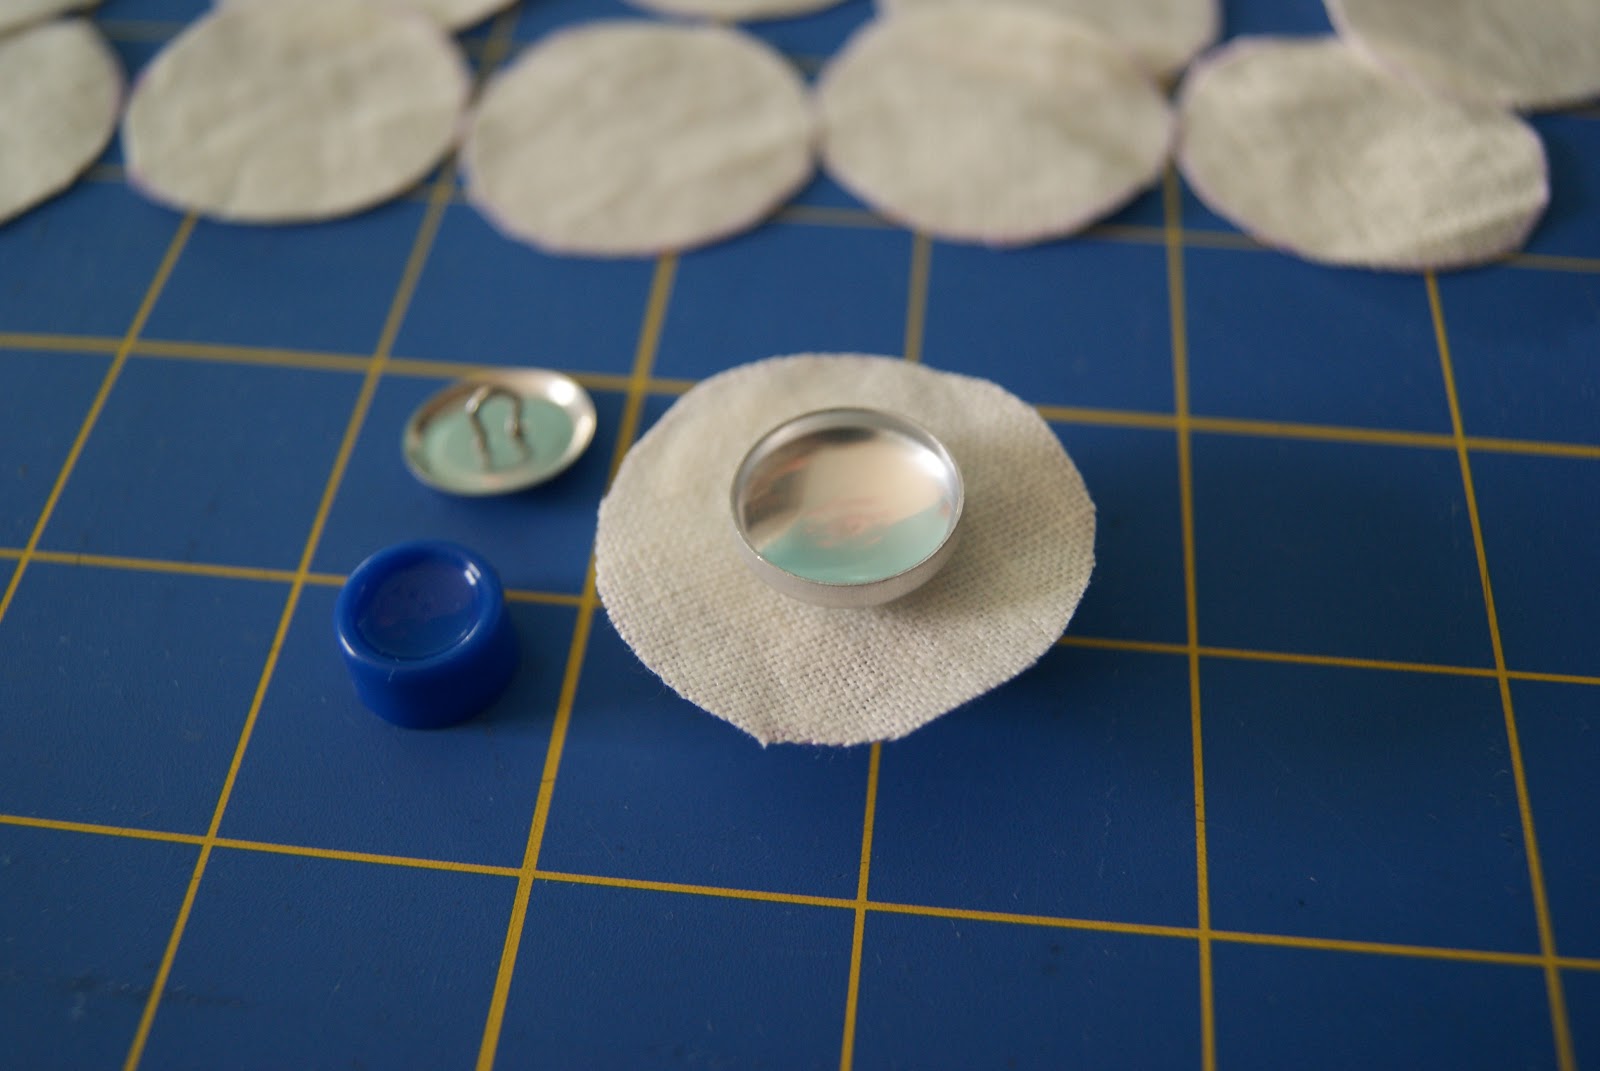
To make a fabric button, place the cut fabric circle on top of the mold. Place the button shell on top, then push the button shell down into mold.
Tuck fabric into button shell.
Place back over tucked fabric.
Press down firmly with pusher to snap into place.
Remove button from mold.
Repeat this until all 24 buttons are made.
With the black fabric marker, write the numbers 1-24 on the fabric buttons.
With a marking pen, mark the placement of the 24 buttons on the banner. All buttons are equally spaced apart. The grouping of buttons is 4 across & 6 down, center this grouping of buttons on the banner. Then sew on by hand the 24 buttons.
Make 2 poinsettia patterns by drawing tear drop shaped flower petals. The large one measures about 6"X5", has 6 points and the smaller one measures about 3.25"X2.75", has 5 points.
Using the 2 poinsettia patterns, cut these pieces out of felt.
Cut a button hole in the center of each of them, large enough to button a 3/4" button.
Place the smaller poinsettia on top of the larger one. Now the poinsettia is ready to be buttoned on the banner. Button the poinsettia flower on the 1st button on December 1st. The poinsettia will make it's way down the banner until it is buttoned on the last button on December 24th.
You can paint the 2 ft dowel if you'd like. Slide dowel through the banner casing and attach enough yarn for it to be hung. Tie a piece of silver glitter eyelash yarn to the dowel to hang down each side of the banner.
You can have fun with this by making the banner in different types of fabrics and/or colors, for example how about making one in a raspberry pink color with a white felt poinsettia. Or a traditional Christmas color one in green fabric with a red poinsettia (like the example in the photos which is made out of green corduroy). Also another idea is to sew trim around the 3 sides of the banner, try pompom trim, ribbon, lace…
Tomorrow is December 1st so get ready to start counting down the days until Christmas with Advent calendars, I know my kids are really excited :)


 Logging you in...
assіgnment wrіter · 511 weeks ago